
Resources
Product documents, testing and installation.
4 downloadable files
Waterguard
Air leakage
Less than 1 CFM/LF at ambient and 400°F
Sound testing
STC up to 71 · Results from separate wall tests.
Project drawings
Drawing support for your wall type, board thickness and finish-base detail.
Waterguard FS
Waterguard FS Product Data Sheet
UL Joint System BW-S-0078
Complete UL listing and joint drawing for Waterguard FS.
Air leakage
Less than 1 CFM/LF at ambient and 400°F
Sound testing
STC up to 71 · Results from separate wall tests.
Waterguard Plus
Waterguard Plus Product Data Sheet
Air leakage
Less than 1 CFM/LF at ambient and 400°F
Sound testing
STC up to 57 · ASTM E90.
Project drawings
Drawing support for your wall type, board thickness and finish-base detail.
Installation & Best Practices
Installation steps
Snap on the profile
Match the profile to the board thickness. Snap it onto the bottom edge and push it fully into place. Don’t pry the legs apart or slide it on from the end.
Set the panel
Lift the panel into place. Set the bottom edge tight against the floor track, then push the top into position. Don’t walk the panel on its bottom corners.
Fasten the drywall
Butt adjoining profiles end to end. Hold the panel tight against the track while screwing it to the studs using the project’s fastening pattern.
Install the base
Use a wall-base adhesive compatible with both the base and Waterguard.
Installing Waterguard FS
Snap pink FS onto the bottom edge of the outer sheet of drywall on each side of the wall. Keep the shorter leg facing out and the strip on the underside touching the floor, with no gap underneath. Butt the sections end to end.
FS product details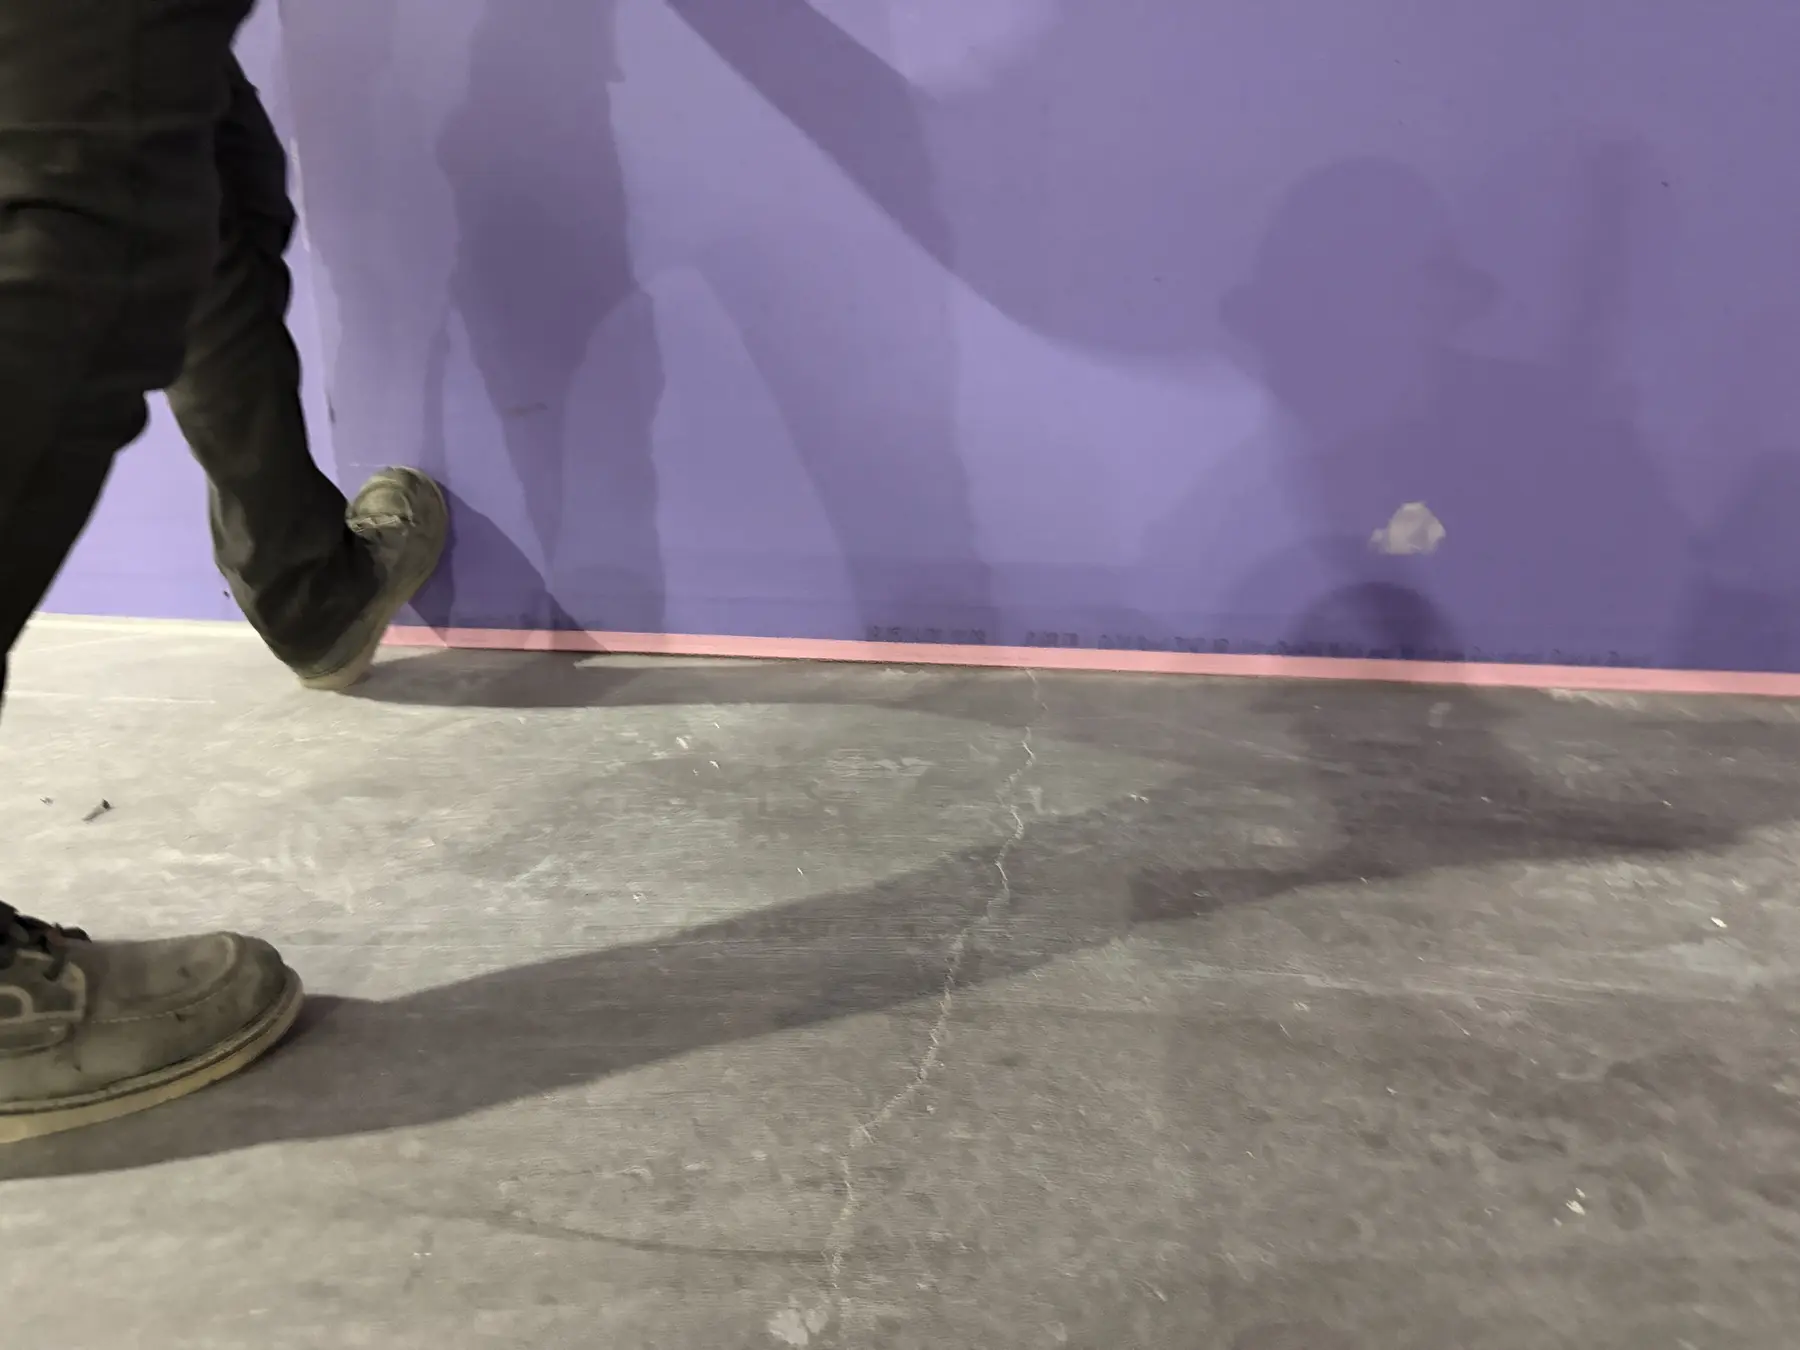
Best practices
Prepare the slab
Keep it dry and free of dirt, grease and loose material.
Check the floor track
Check the stud-to-track screw heads where the board sits. Work out any interference with the stud crew before hanging.
Mock up corners and door frames
Make a small mock-up before hanging the rest of the wall so the crews can work out the fit and finish.
Support outside corners
Run corner bead to the floor, or miter or block the corner so the finished base has solid backing.